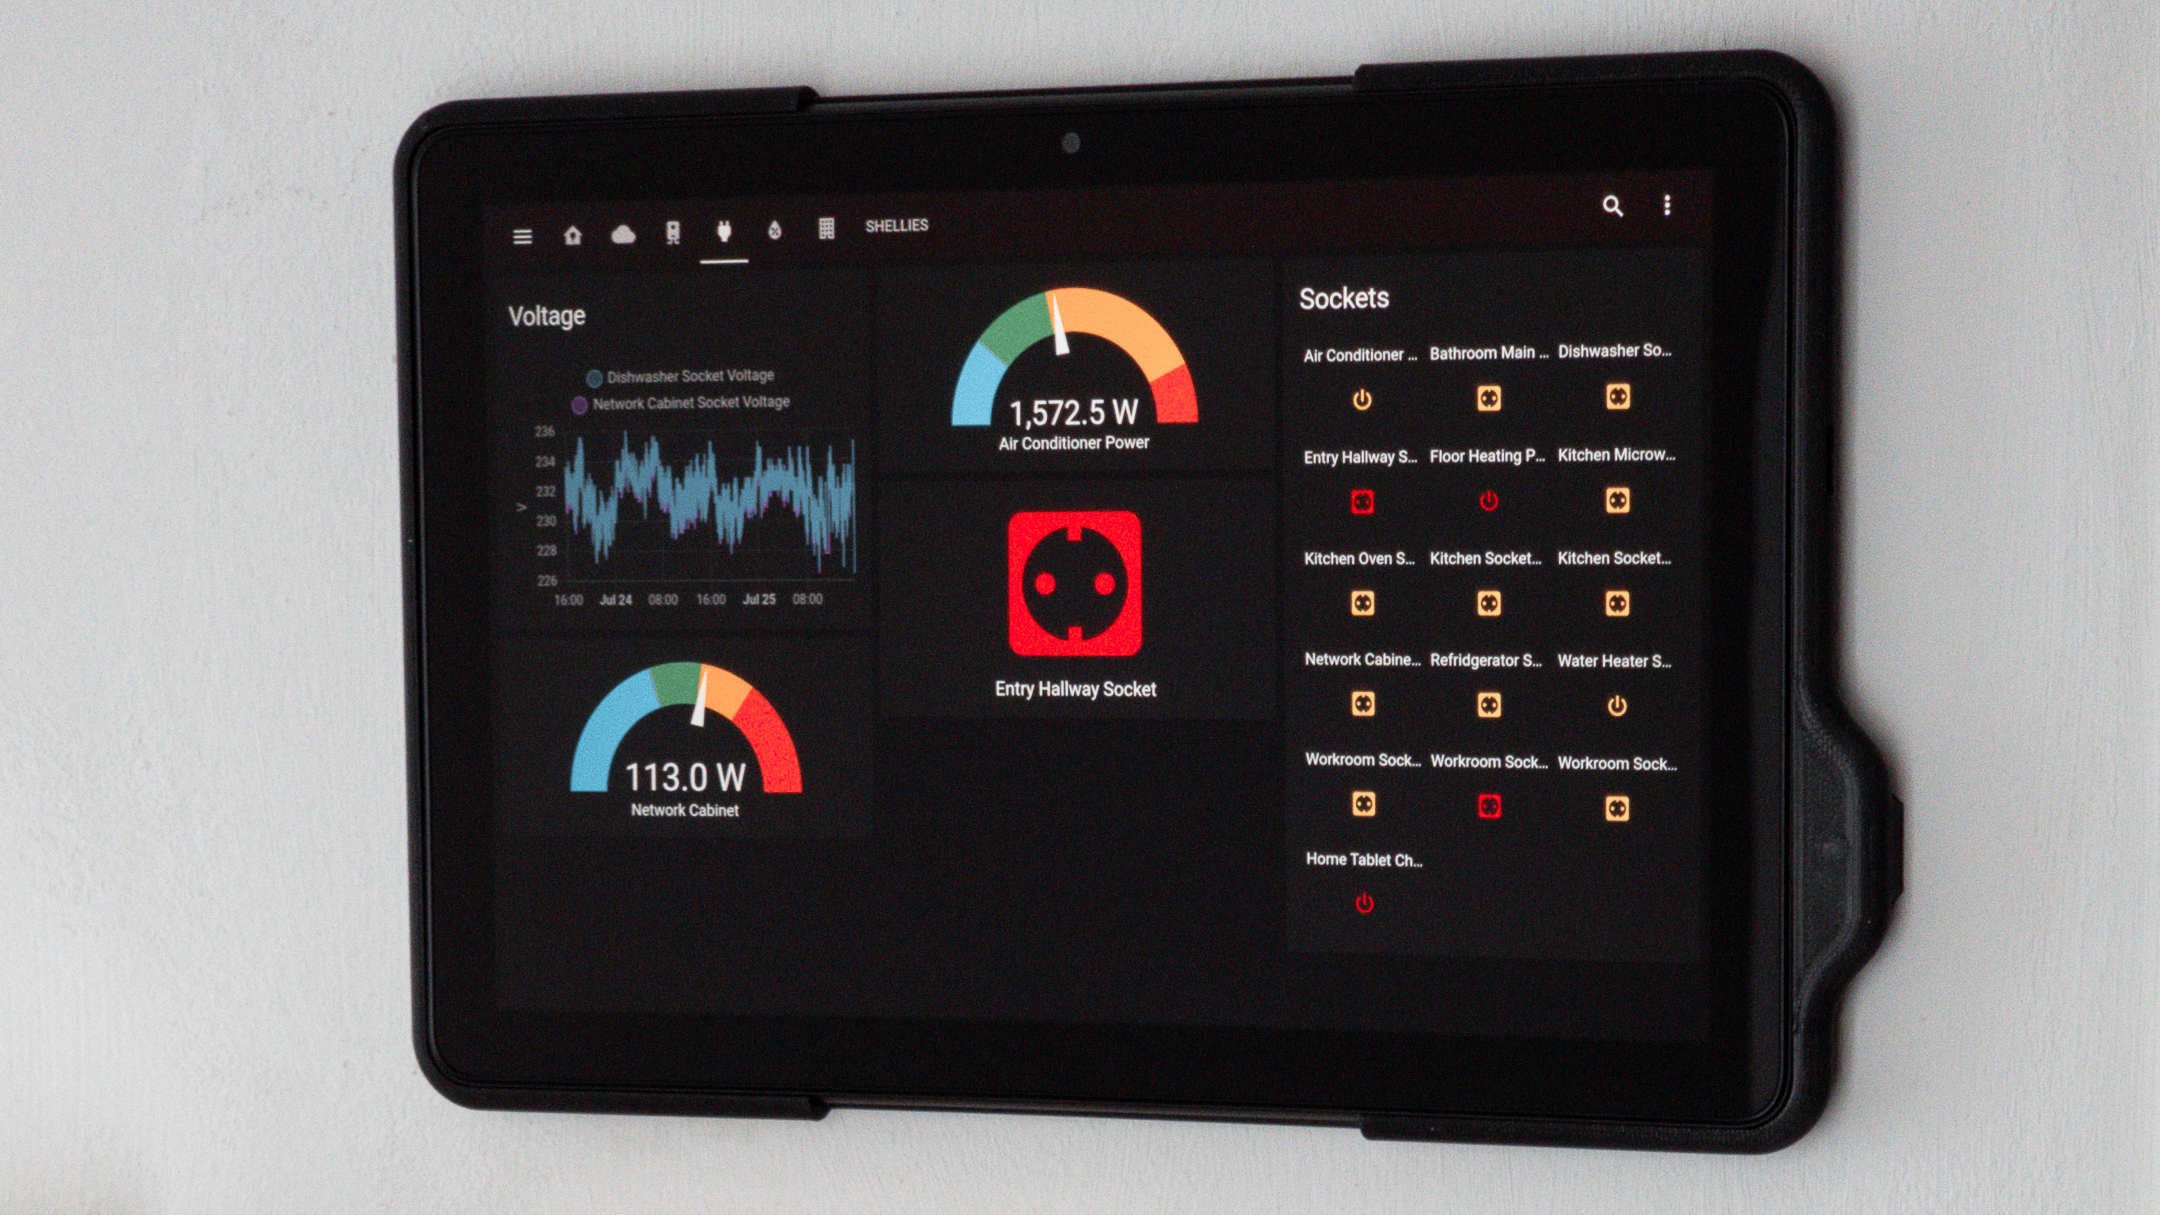
Even when I was a kid I was planning to have a smart home tablet at my place where I could easily control lights, air conditioning, blinds, etc. Here’s how I made that a reality with some clever shopping, making holes in walls, 3D modelling and 3D printing.
My choice of tablet
When I was in the process of planning the installation tablet choice was the first thing I had to do because a lot of other things get modelled by it. At the time Black Friday was just around the corner and I ended up buying Amazon Fire HD 10 tablet for as low as 79€. Immediately after receiving it I’ve used Fire Toolbox (you can find it on XDA Forums) to remove all the bloatware. Next step was to design a holder.
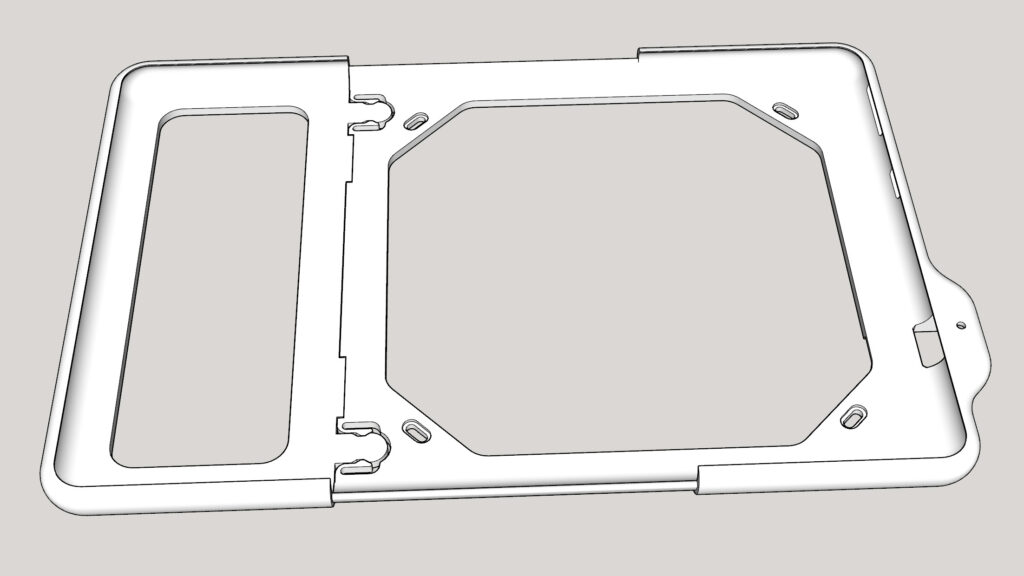
Designing the tablet holder
While designing the tablet holder I’ve created multiple prototypes. The main requirements from the holder I had were:
- It has to be possible to screw/unscrew it to/from the box in the wall
- Tablet has to be removable by sliding it out
- Tablet needs to be secured by the 2nd part of the holder that clips in
- Sliding the tablet in must connect it to the USB power supply
- Power supply needs to be automated and turn on when tablet’s battery is down to 20%
- It has to be low profile and protrude minimally from the tablet
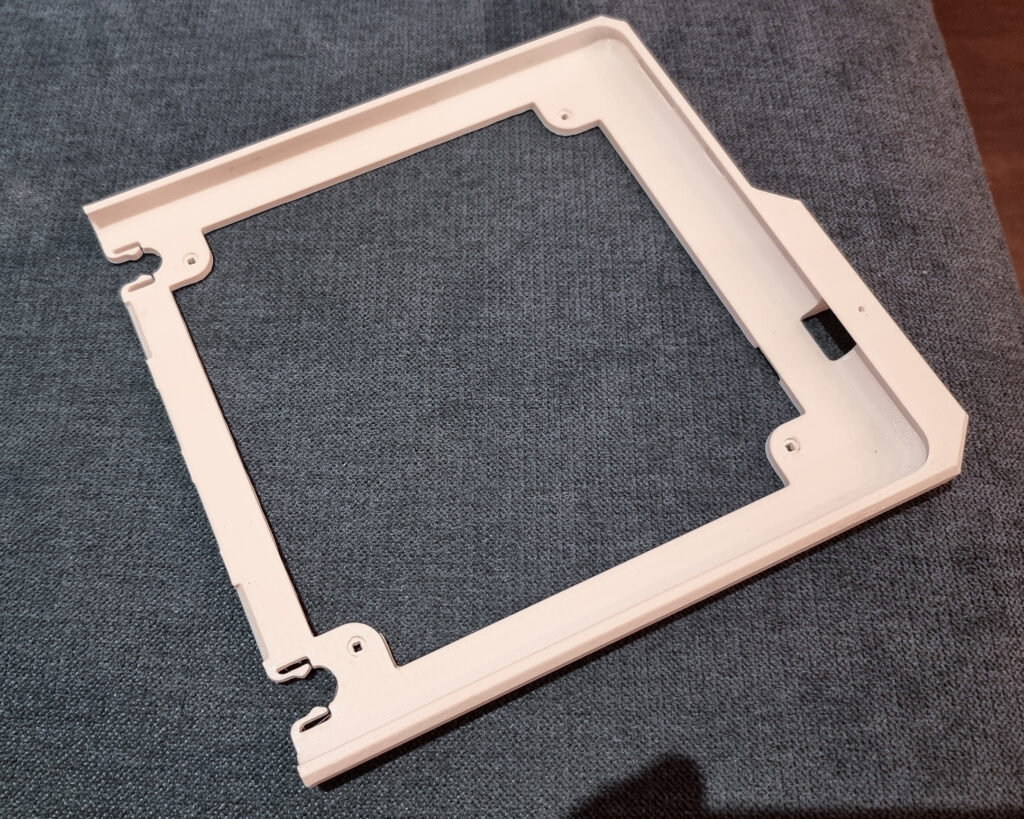
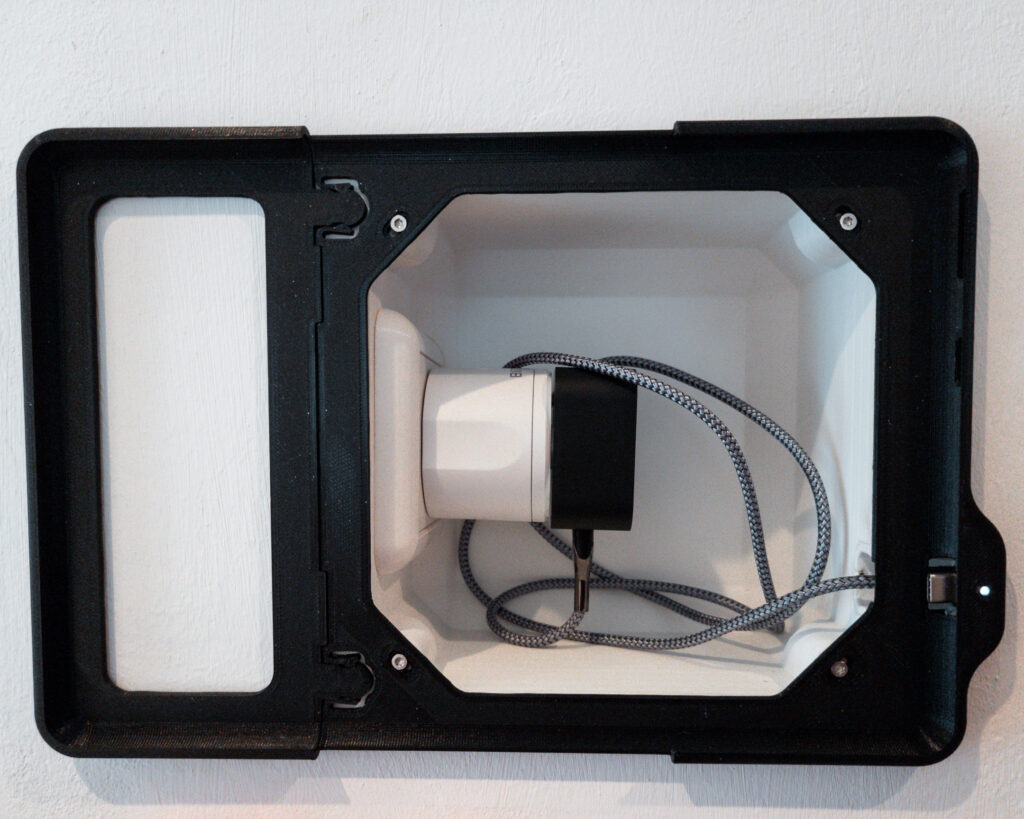
Here are some photos of the first prototype:
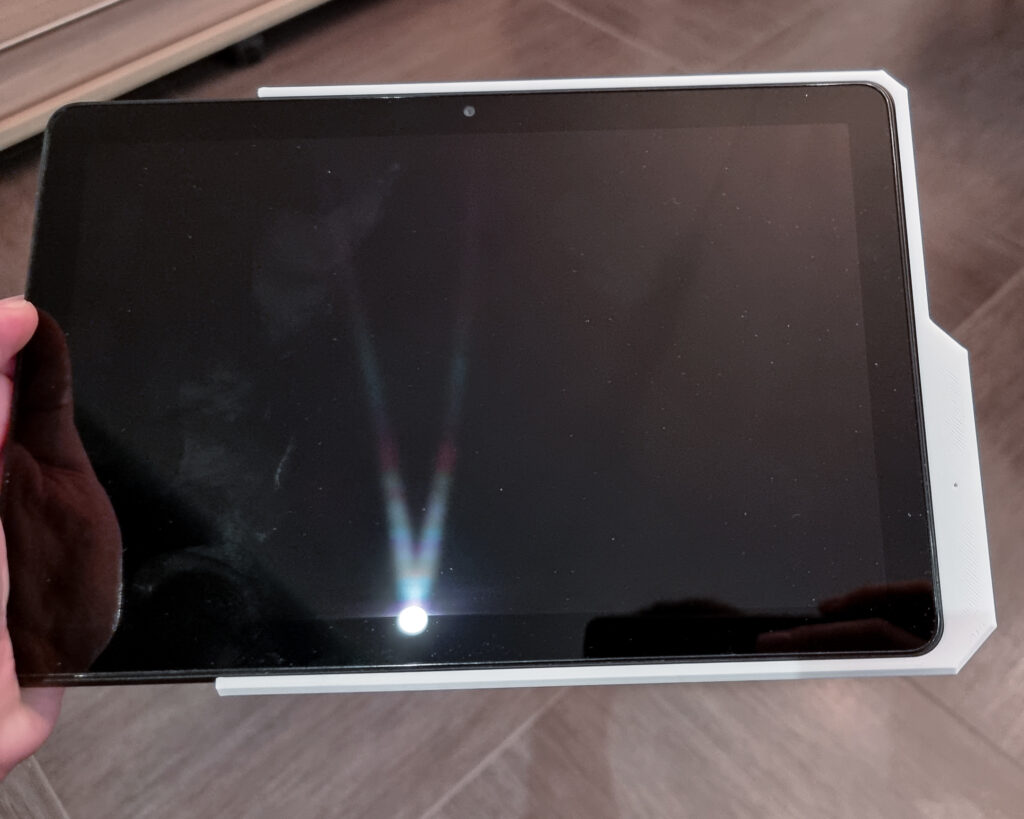
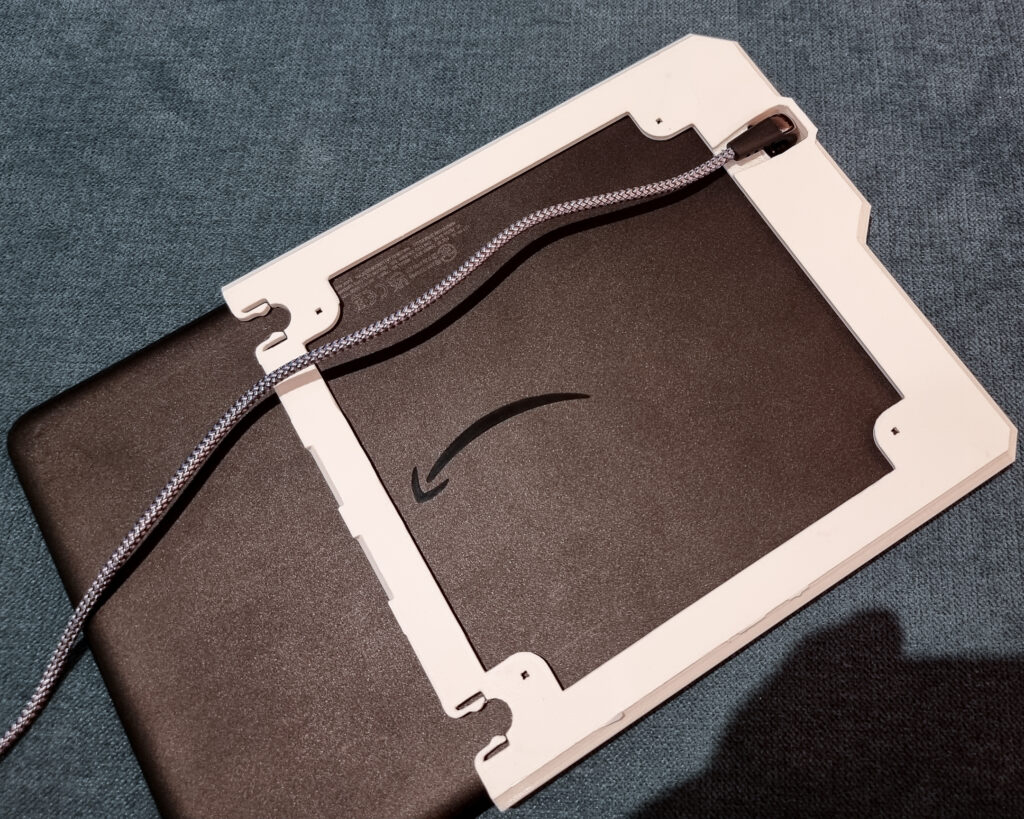
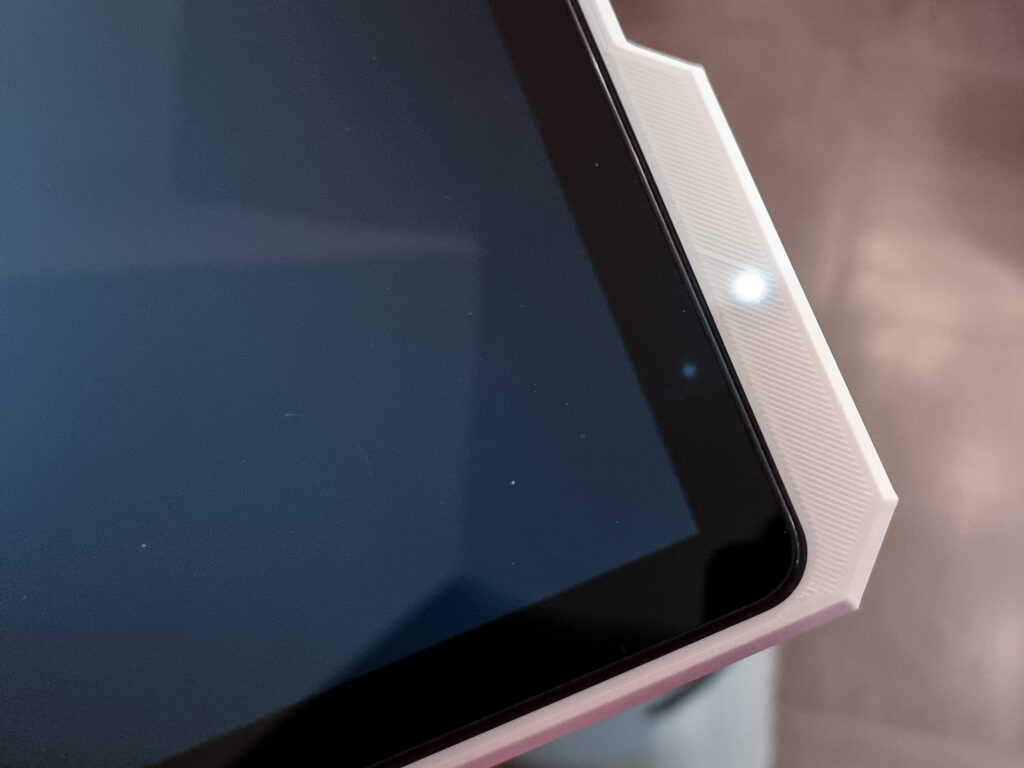
As you can see, I didn’t spend much time sorting out the outer borders, the design was just to get a good fit for the tablet and to position the charging cable properly. I am using a “REMAX RC-177a Heymanba II” charging cable because it has an indicator light that shows when the cable is powered (visible in the 4th picture above). This will be a cool indicator for when tablet is being charged.
What you can also see in the table holder prototype is a big square hole and 4 screw holes. This is for the in-wall box that I’m also designing and printing.
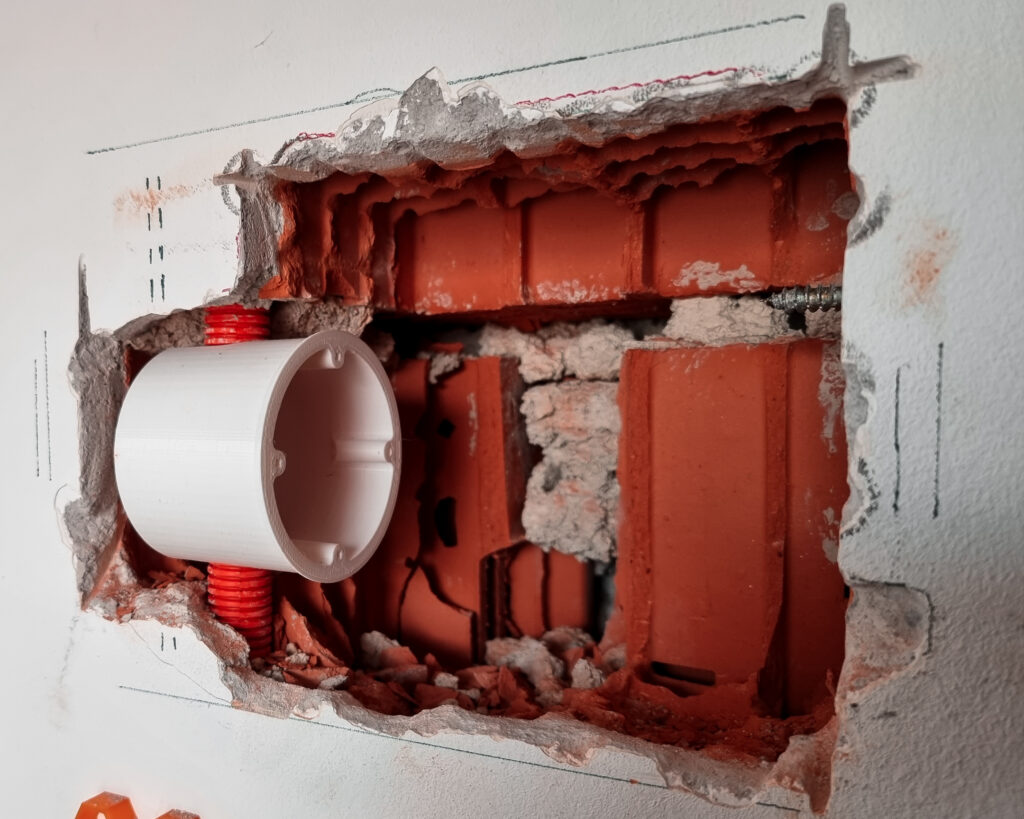
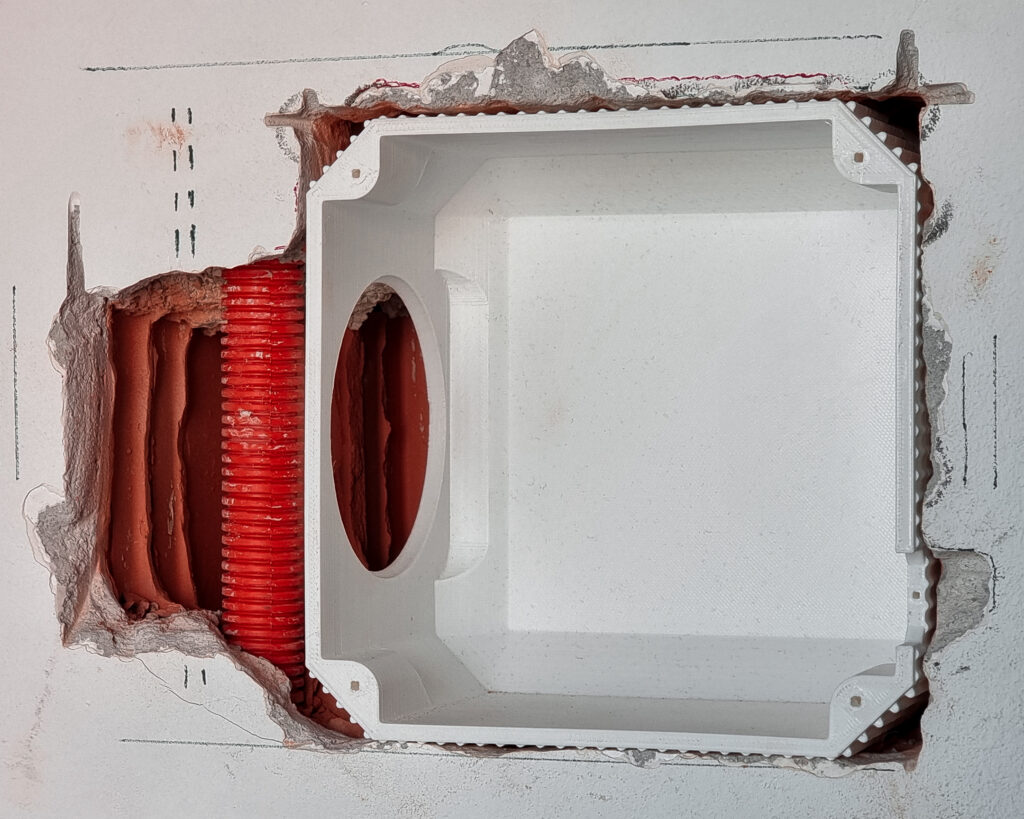
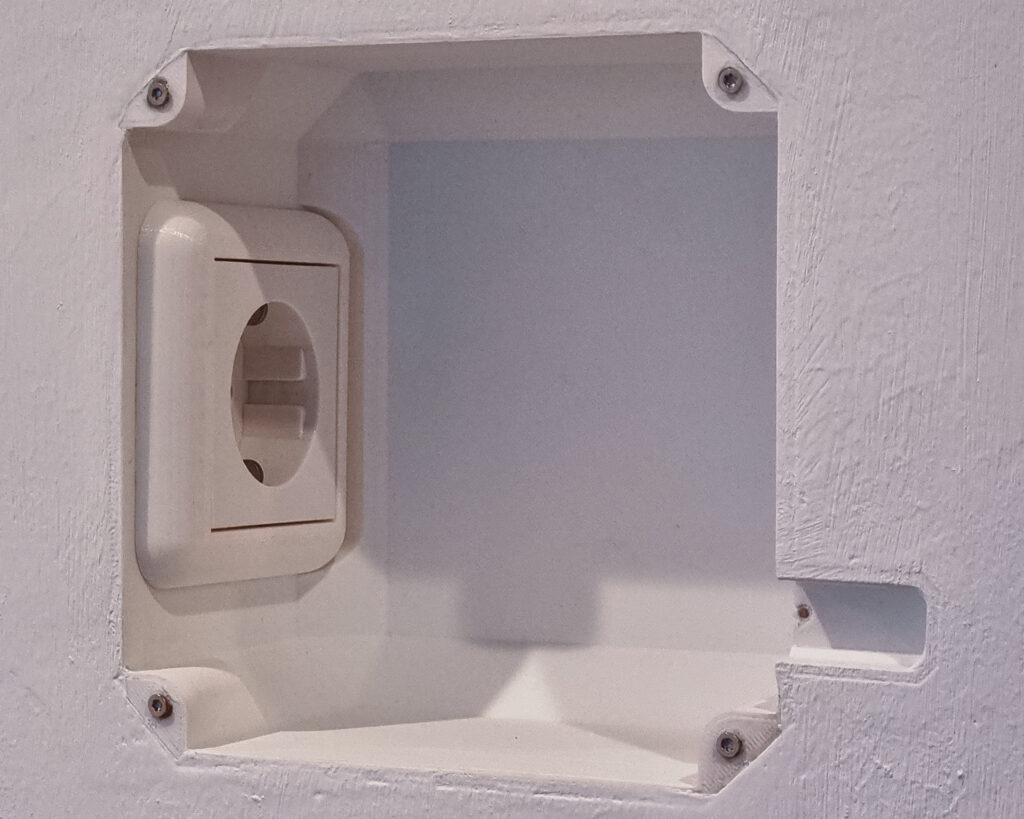
Designing the in-wall box
We have brick walls here in Croatia so I have to make a big hole in the wall and then use electrician’s plaster to secure the box in there. Here is what the prototype of the whole assembly looked like:
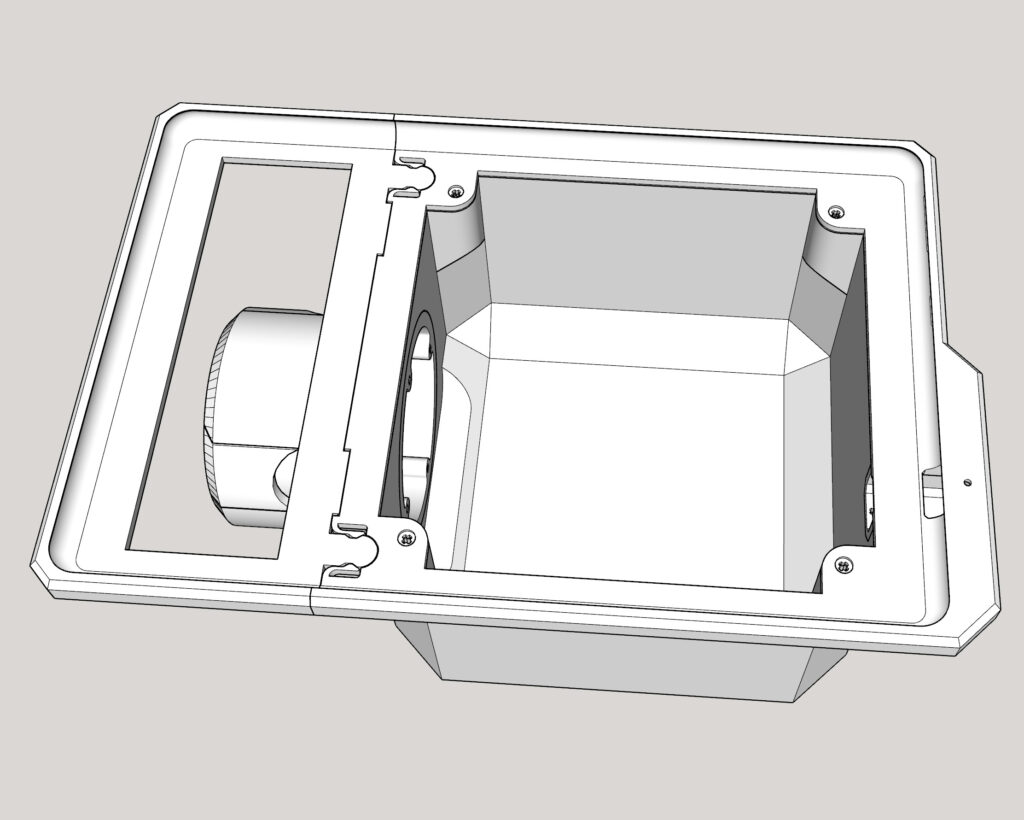
The in-wall box had a few requirements of its own:
- Have enough space for different types of chargers (future-proofing)
- Fit an electric socket in the box on the side
- Have screw holes that can mount a different tablet to in the future
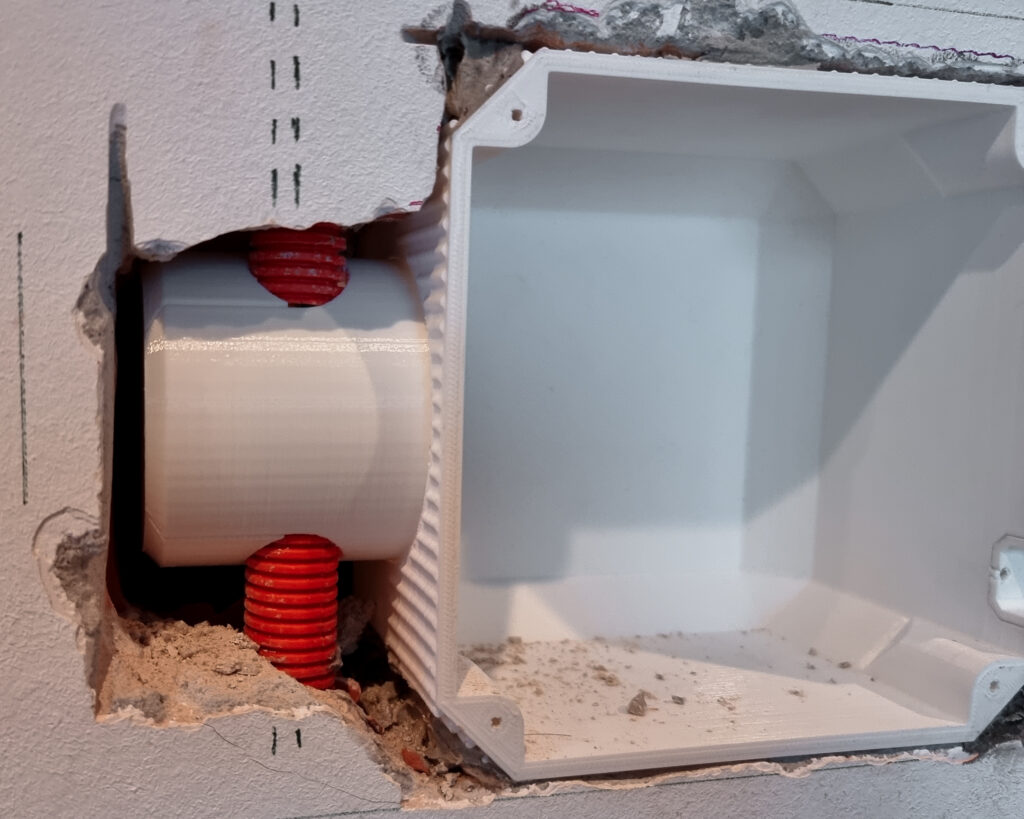
As you can see, the box does have a huge space behind the tablet. In my case I had a very thick brick wall to work with so I had more than enough space to integrate this. You mileage may vary. The round box you see on the left is a regular in-wall electric box that is meant for a socket to go in. The idea was to have something like this:
The placement in the wall I’ve picked was next to my front door and it already had electric cables running in the wall to the left side, so the socket’s electric box was just going to use the existing channel. The mounting process can be seen here, at least the part after making the hole in the wall:
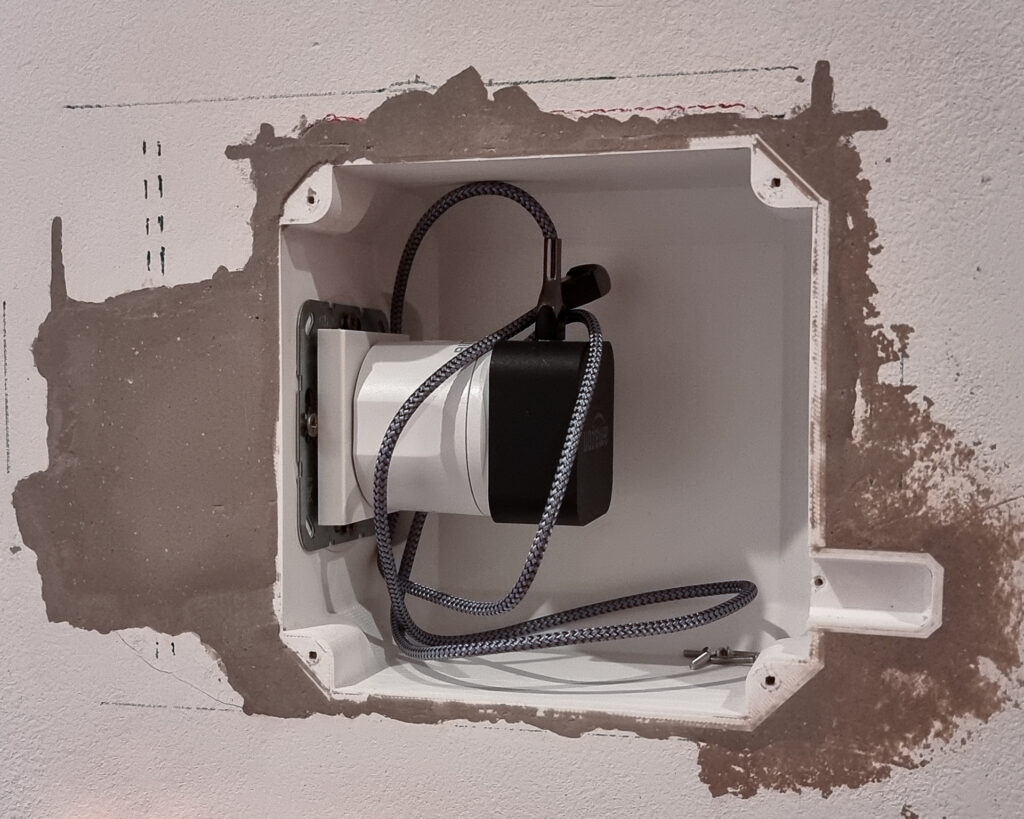
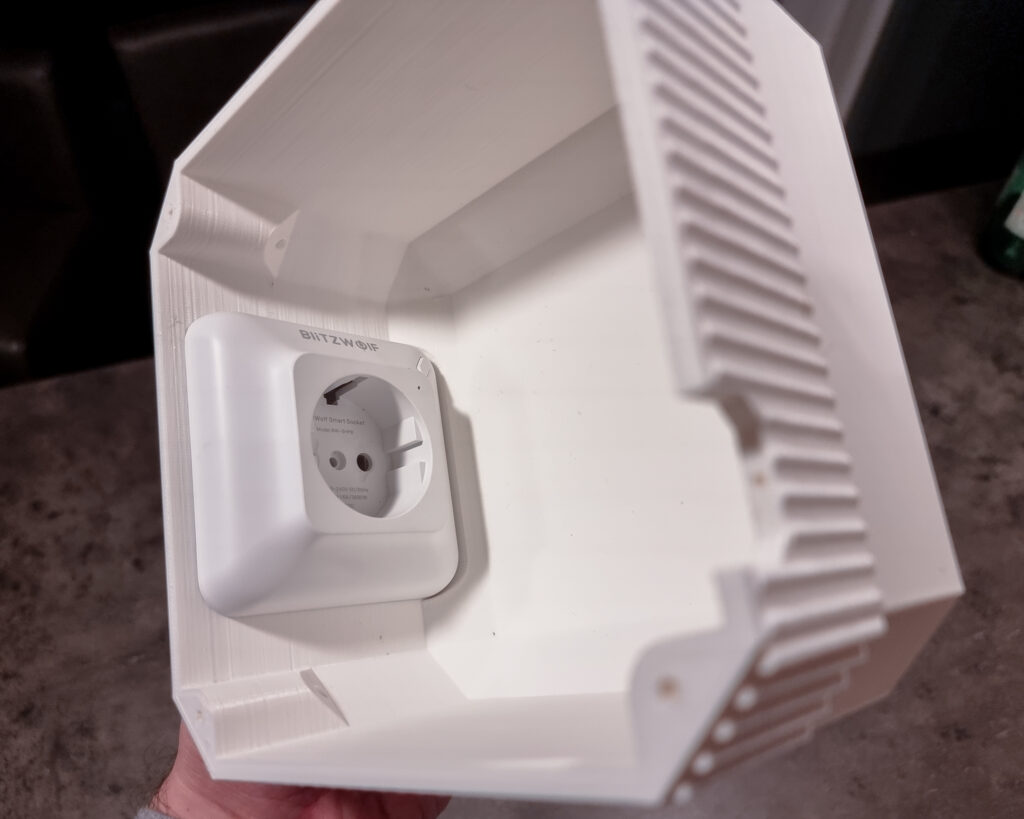
After fitting everything as planned I’ve decided to go with a regular socket and BlitzWolf BW-SHP10 for on/off regulation. Unfortunately BW-SHP8 couldn’t fit with the cables that need to pass through the box.
Fitting the tablet
Now that electric work is done and the box is in the wall it was time to finalize the tablet holder and print it. To get to the final version the holder got several updates.
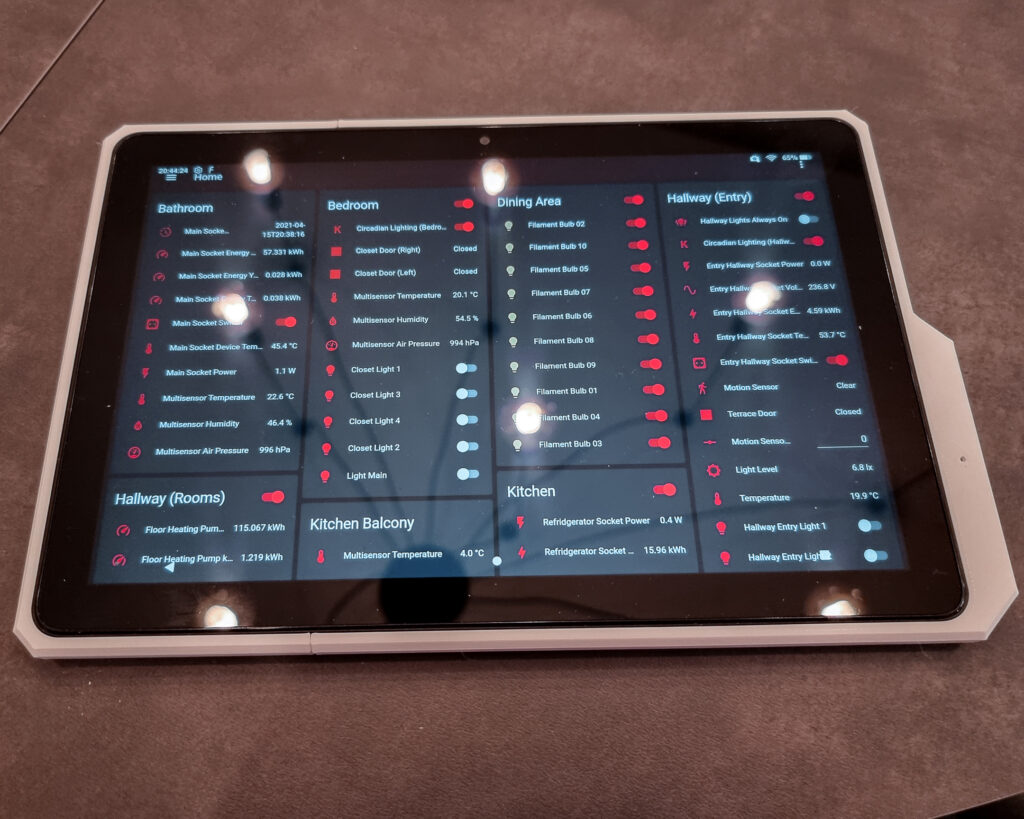
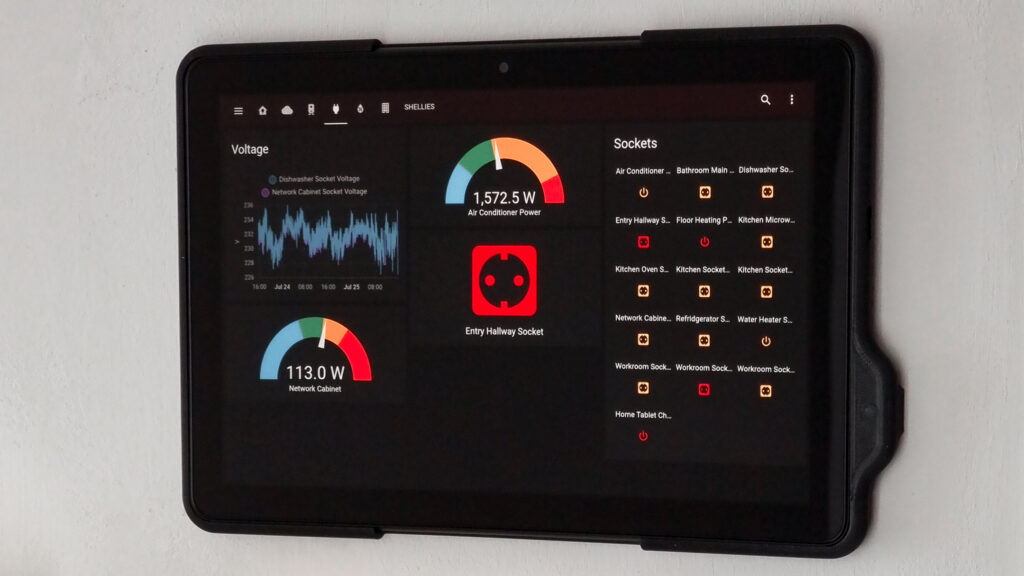
Namely, it is much smoother than the prototype. I have further reduced the size of the holder so it is minimally seen around the tablet. The point where the two parts of the holder meet is hidden behind the tablet. I didn’t want visible seams. I have also expanded the screw holes to allow for some rotation so I can mount the tablet perfectly level. Printed and mounted the holder looks like this:
I’m very happy with the final product. The charging indicator is a nice touch. The charging cable is fit in place using hot glue so just sliding the tablet in is enough to connect it.
Resources
I’m giving all of the 3D printable models you can see here for free. You can download them below:
The files as they are will probably not fit your situation. Hwever, if you’re crafty enough with 3D software, you can make adjustments to fit you. In the end you will have your own wall-mounted tablet.
Next steps
Now that the tablet is mounted I cannot just use regular Home Assistant GUI on it. In the next part I’ll go over the software I use to automatically turn the screen of the tablet on and off and the making of the blueprint view of my place. The thing is – I need to make all of this first, only then I can write about it. 😅